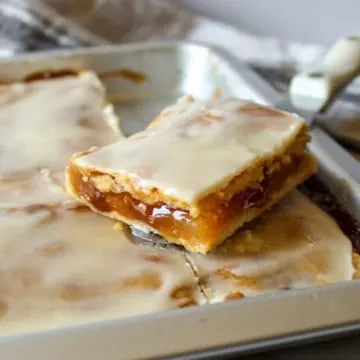
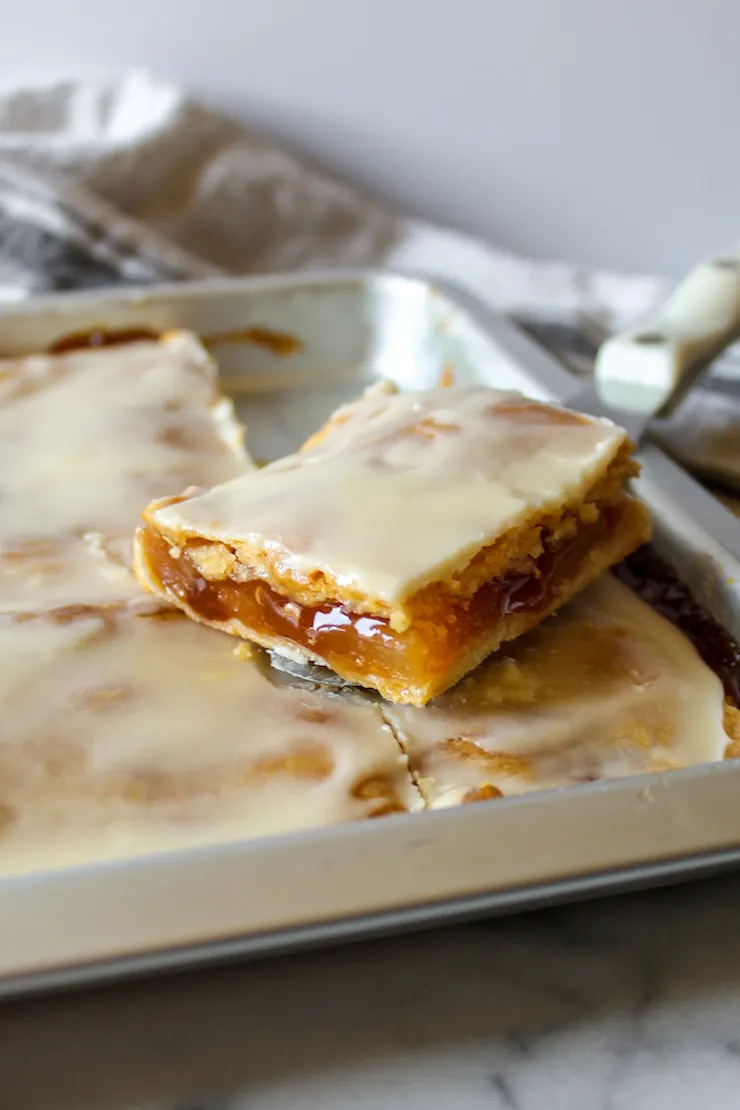
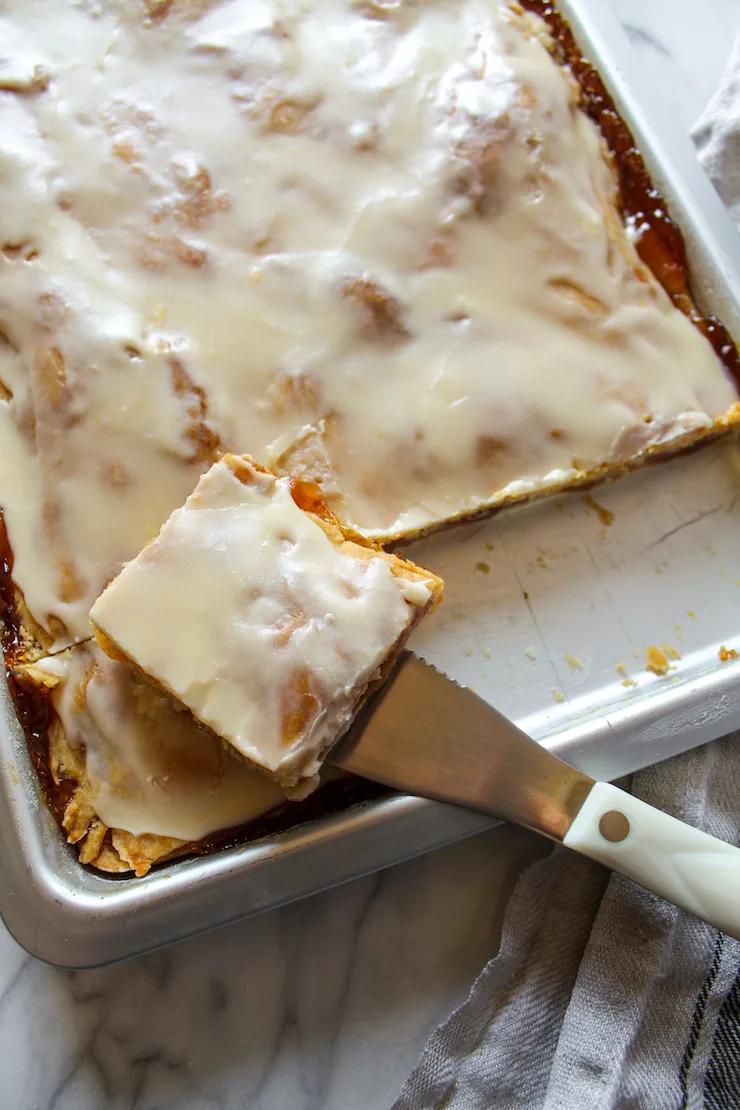
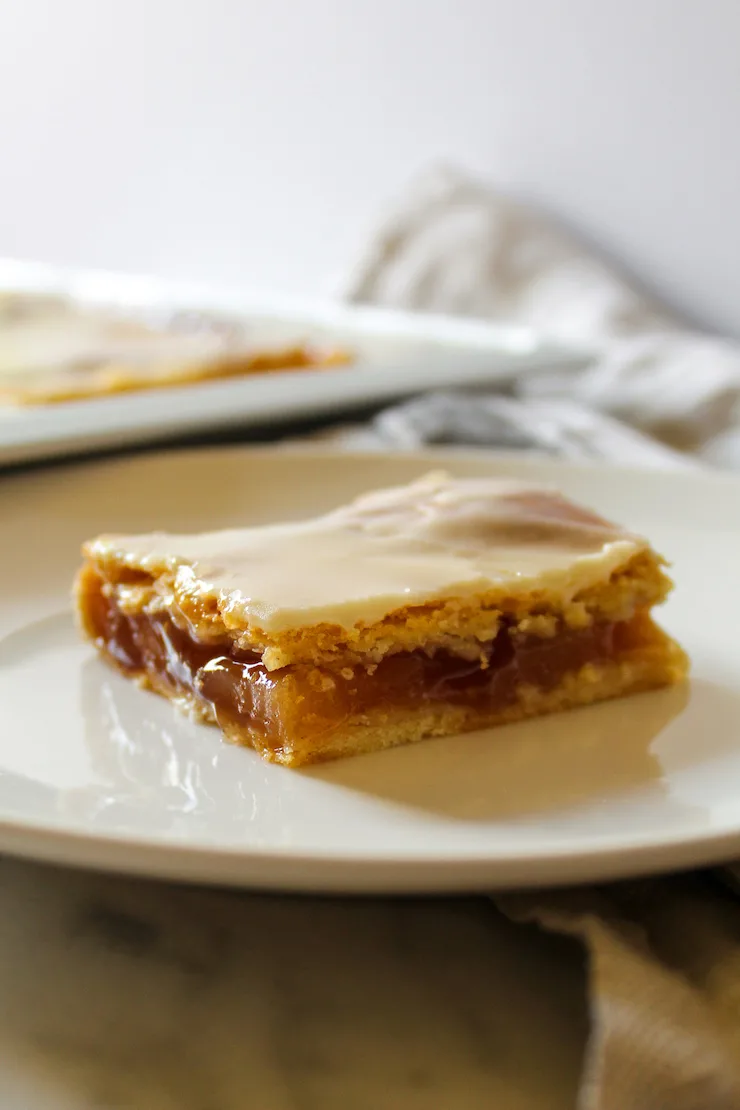
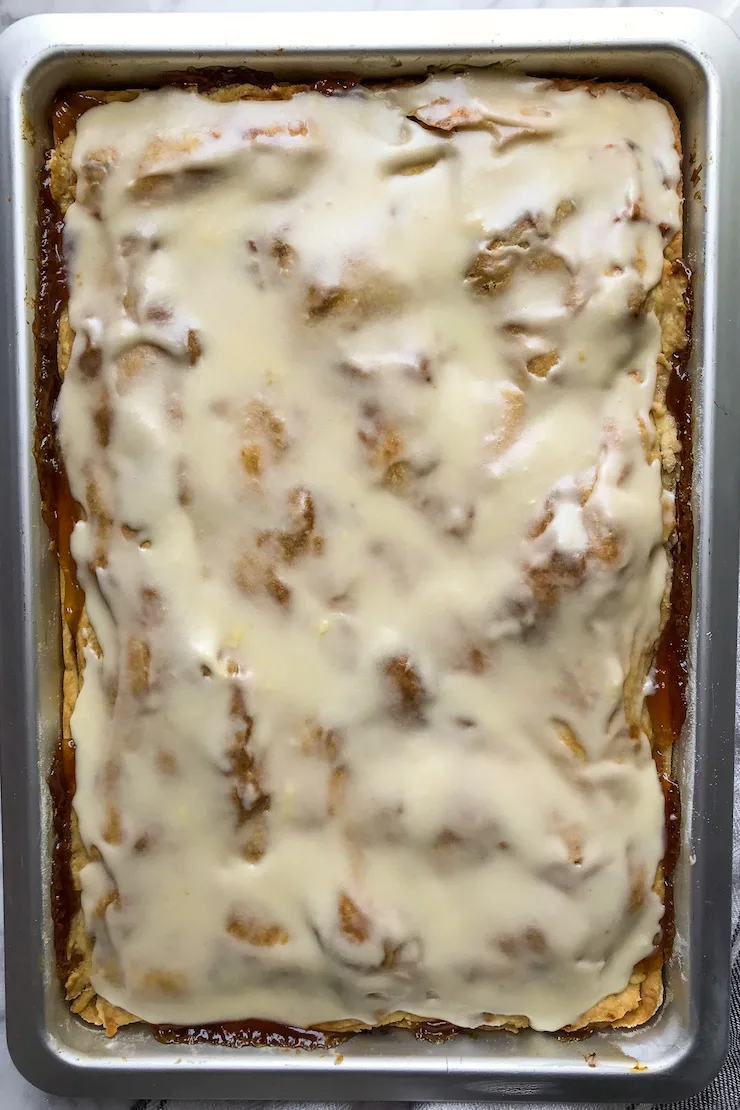
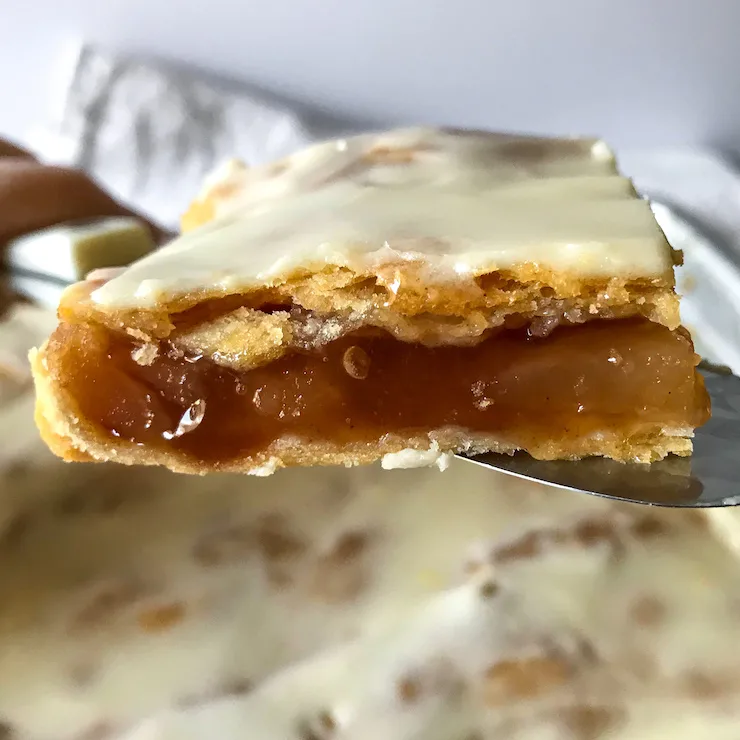
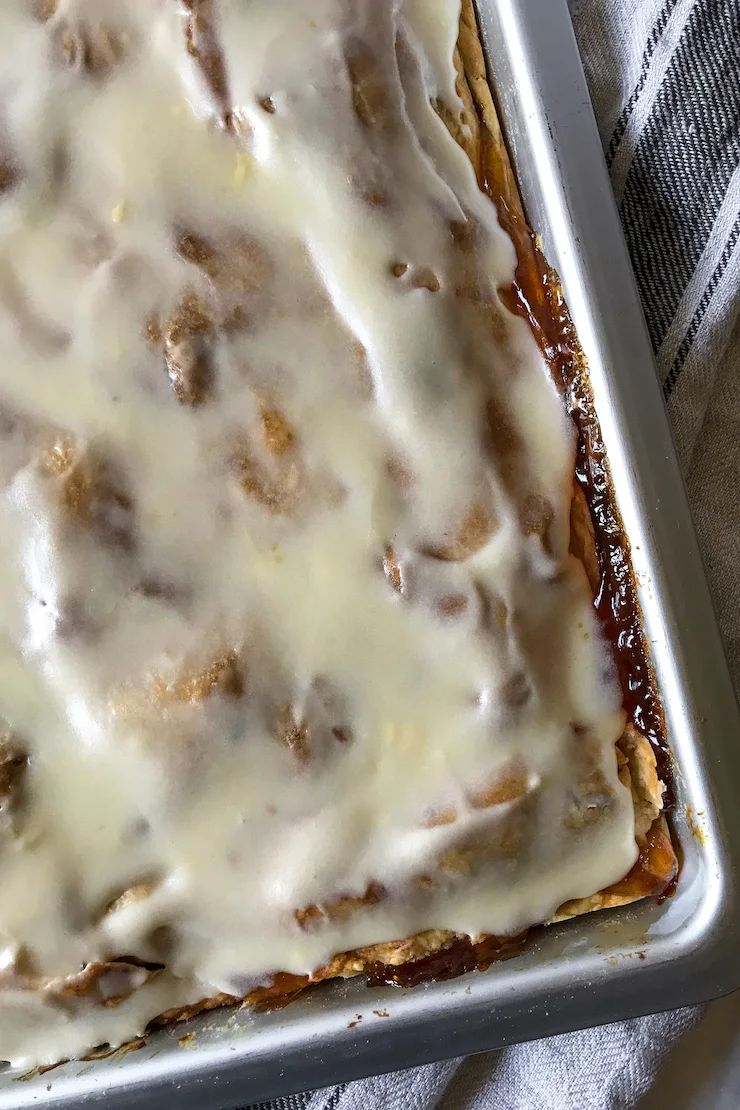
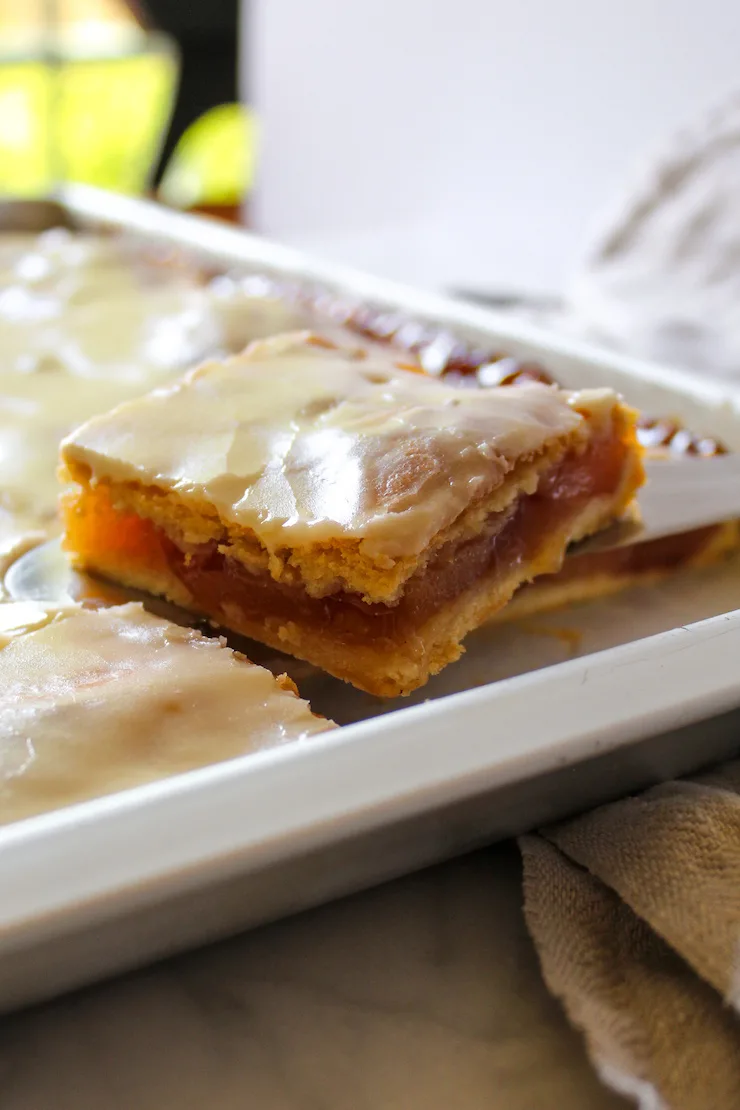
Chicago-style bakery apple slices. Apple filling between two crusts in a sheet pan, topped with vanilla glaze and cut into squares. These slices are very portable and travel well for your potluck or next get-together!
I grew up in the Chicago suburbs and as an adult I lived in the city. I love Chicago neighborhood bakeries. I have my favorite back home that I still stop in for something sweet when I visit my mom. And I had my favorites in the city, mostly on the north side.
One thing these bakeries had in common were big sheet pans of apple slices in their cases or sitting out on the counter. Often times, they were next to a big sheet pan of frosted fudge brownies, which I'm also crazy about. The bakery always had Apple Slices and I loved them.
How can I describe them? Not apple pie, not a bar, and not slab pie either. Apple filling between two crusts with a thin glaze on top, and they are cut into squares like brownies. That's my best description and if you've seen or had these apple slices, you know exactly what I'm talking about.
Okay, let's talk my baking skills. Not the best and I debated about this post since my top crust was rather pathetic-looking. But it tasted perfect, the glaze camouflaged any imperfections ~ so no worries for me. Besides, there's no way my sheet pan of apple slices would look like it was from the bakery. But close, damn close.
I found a few recipes for these Chicago-style bakery apple slices that were pretty much the same, apparently adapted from a 1972 edition of the Chicago Tribune. That would be the source I wanted and the recipe I chose to adapt.
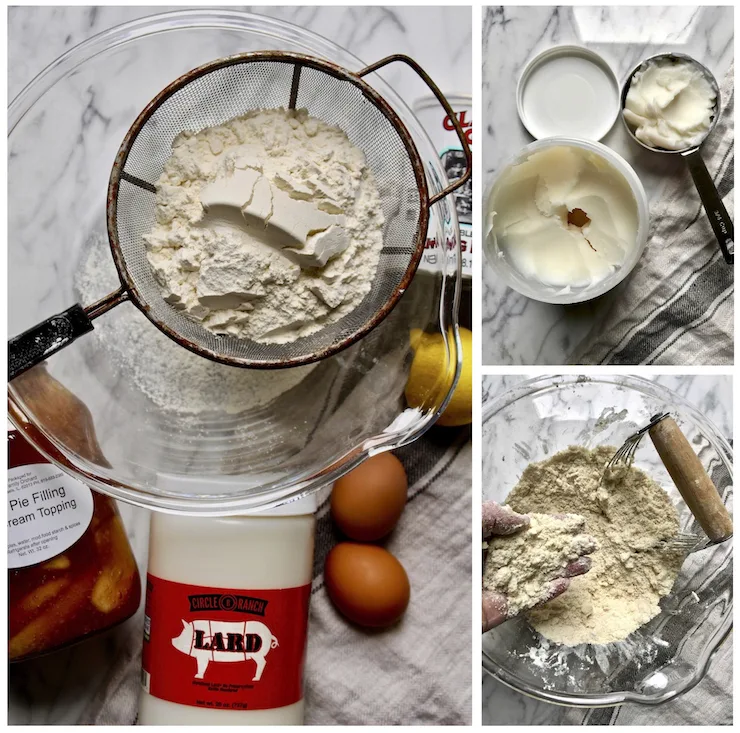
I use lard for all my pie crusts and I highly recommend it. This recipe called for lard, no butter. Try and find a non-hydrogenated, unprocessed lard ~ that's the best to use. The other hydrogenated stuff isn't so good, just sayin'.
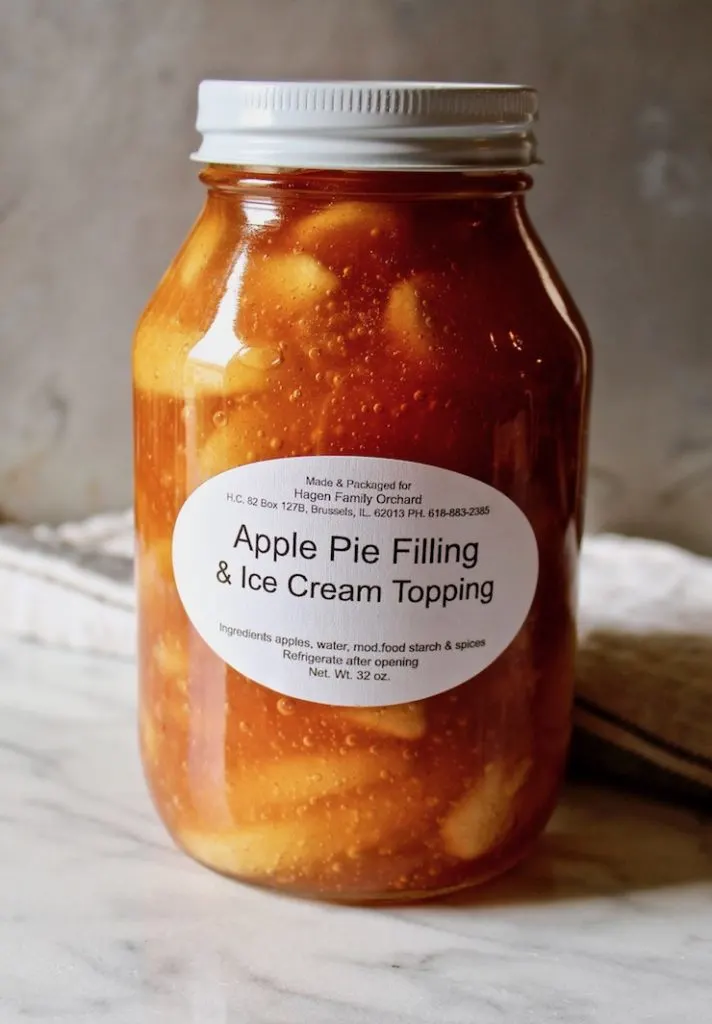
I used a quart jar of Amish apple dessert filling I had in the pantry. It was perfect for these apple slices. Use any pie filling you prefer, and I'll also put the apple filling directions from the recipe I used in the recipe notes, in case you want to make your own filling. And I used a smaller jelly roll pan, not a full or even half sheet size. You could double the recipe for a larger sheet pan.
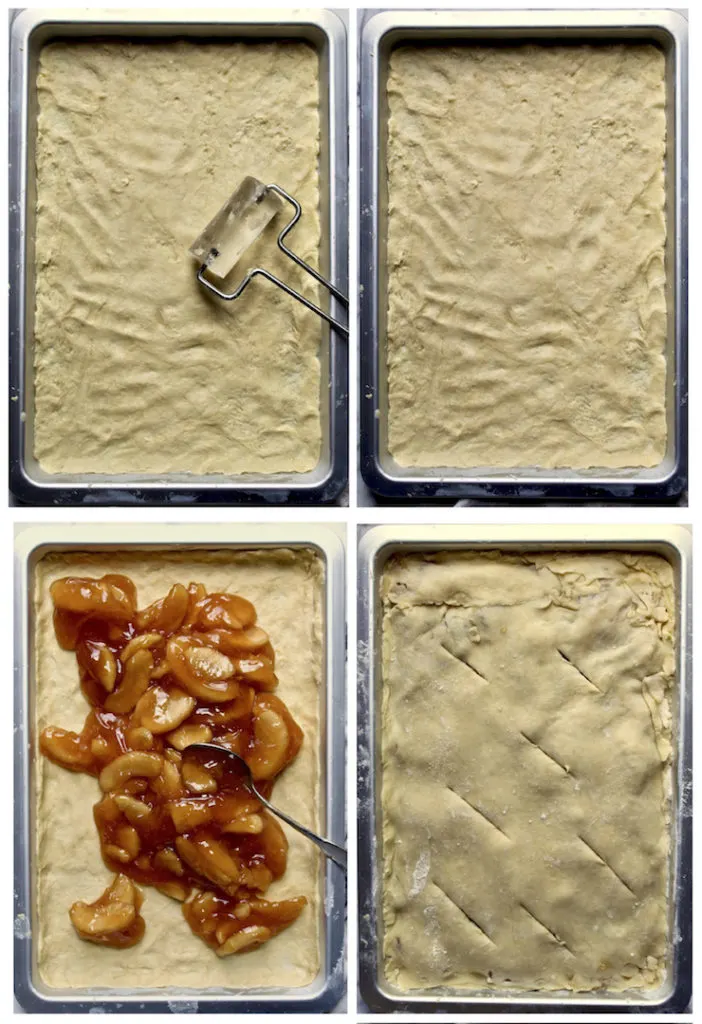
The dough is a bit hard to work with, at least I thought so. I pressed the dough in the bottom of the pan with my fingers. I rolled the top sheet of dough on the back of a well-floured sheet pan and then transferred it. It still tore in the corners and my attempts to patch it were comical.
This isn't like working with a traditional pie dough. But I don't think it matters, it tasted great, was brown and crispy, and the vanilla-butter glaze on top covers any glaring goofs. Just patch the dough the best you can.
I used to get an apple slice for the car ride home from the bakery, they're very portable. I'd gobble it up right out of the bag, holding it with the little piece of white bakery tissue. So, off you go! Make these Apple Slices and you'll have this iconic Chicago-style bakery treat at home. They disappear fast! ~ Kelly
You might also like these baked goodies:
- Cherry Pie Bars
- Blackberry Peach Cobbler
- Lemon Squares
- Apple Pie
- Cherry Pie
- Peach Pie
- Blackberry Crisp (VIDEO)
HUNGRY FOR MORE? Subscribe to my Newsletter and come hang out with me on INSTAGRAM, or give me a follow on FACEBOOK or see what I’m pinning on PINTEREST.
Apple Slices
Ingredients
- 2 cups all purpose flour
- ½ teaspoon baking powder
- ½ teaspoon salt (I use Diamond kosher salt, even for baking)
- ¾ cup lard (preferably non-hydrogenated, unprocessed)
- ½ cup water
- 2 egg yolks
- 1 teaspoon lemon juice
- 32 ounces apple dessert filling/topping
Glaze:
- 1 cup powdered sugar
- 2 tablespoons melted or softened butter
- ½ teaspoon vanilla
- 2 tablespoons whole milk (more to thin, if necessary)
Instructions
- Sift together flour, baking powder and salt in large bowl. Add lard and cut in with pastry cutter or fingertips until the mixture resembles coarse crumbs. In a measuring cup, mix water, egg yolks and lemon juice together and pour over flour mixture. Blend gently with a fork until combined; mixture will be very moist.
- Divide dough in half. Roll or pat one half of dough directly into 9" by 13" jelly roll pan, bringing dough slightly up the edges. I patted with my hands, you could also try a mini roller. Spread apple filling evenly over the dough. Roll remaining dough to fit the top, either on a well floured pastry board or the back of a sheet pan and then carefully flip it over the top. Press or pinch the edges together, don't worry if it doesn't seal completely, as long as top is completely covering apples. Patch where necessary. Cut several slits in top dough for steam vents.
- Bake in 400º oven for 40 minutes, until crust is nicely browned, rotating pan halfway. Remove to rack to cool.
- Make glaze. Combine sugar, softened butter, vanilla and milk until smooth, adding more milk if necessary for consistency. Spread glaze over top of crust with an offset spatula and let glaze set and harden. Cut into 2- or 3-inch squares and enjoy!
Recipe Notes
- The recipe I adapted included the following directions to make the apple filling: Mix 1¼ cups sugar, 2 tablespoons cornstarch, 1 teaspoon cinnamon and ¼ teaspoon salt in a saucepan; add 1¼ cups water. Cook, stirring frequently, for 5 minutes. Add 3 pounds peeled and pared cooking apples, cut into ¼"-thick slices; simmer for 10 minutes.
- The dough is very moist and a little hard to work with. You may wrap it in waxed paper and chill for 6 hours or overnight, then roll out for the pan.
- The recipe yields about 12 to 24 slices, depending on the size you cut them.
Nutrition
*Adapted from Chicago Tribune and Farm Bell Recipes
donna
Monday 20th of October 2025
I went online to find a recipe for 'bakery-style' apple slices. The first one I came upon was yours and I was thrilled to find that you recreated those Chicago-style bakery delights! I grew up on them! I can't wait to make these this weekend. It's apple season and the local farmer's markets are loaded with them. Perfect timing! I will post the results, but your recipe looks perfect to me!
Kelly Wildenhaus
Friday 24th of October 2025
I hope you like these apple slices!
Doctor Grandma Jeannie
Saturday 15th of March 2025
Sorry, these were tasty but are nothing more than an apple pie, glazed, and made without the pie pan.
Tess
Tuesday 24th of December 2024
The dough is suchhhhh a good and tender recipe
Katie
Monday 25th of November 2024
Where do you typically find unhydrogenated lard? Heck, where do people find hydrogenated store bought lard? Having a hard time finding either. If needed, what is the best substitution? Want to make for Thanksgiving this week!!
donna
Monday 20th of October 2025
@Katie, I purchase leaf lard at a local farmer's market. There's nothing like it for pie crust! Tender, flaky, and oh so good. You can also find leaf lard online.
Leaf lard comes from the fat around the kidney and loin of the pig. Leaf lard is odorless when rendered. (Regular pork lard has a deep 'piggy' taste, not recommended.)
Kelly Wildenhaus
Tuesday 26th of November 2024
Hi Katie. You can find blocks of lard at the grocery store, ask the butcher where they stock it. I prefer to get lard from a butcher or even a Mexican grocery. Hope that helps. I would substitute with vegetable shortening in a pinch.
Pat
Monday 9th of September 2024
Can I substitute peaches for the apples
TheBuffster
Monday 26th of May 2025
@Pat, I made apple and then my bf asked for berry filling, turned out great! Use whatever sounds good to you!